The Legs, Body, and Assembly!!!
Cut 8 leg piece patterns as normal and cut 4 leg piece patterns without a curved top. Sew 2 of the feet on to the ones without the curved top and then sew them in the flat area between the leg arcs when you have the body piece sewn.
Pin leg pieces like so.
Sew up the edges, making the top and bottom remain open.
If you can align pieces on the fold, you will have one less seam to worry about and honestly, it will look a tiny bit prettier.
Remember, this stuff SHEDS! Be careful not to jam your machine and be aware of all the little fur bits now migrating throughout your house. Sew along the edge of any part that is going to not have something attached to it or there will be MORE in your house.
Cut out two body pieces.
Pin them like so, making sure to not sew up the belly edge.
Sew along the top edge.
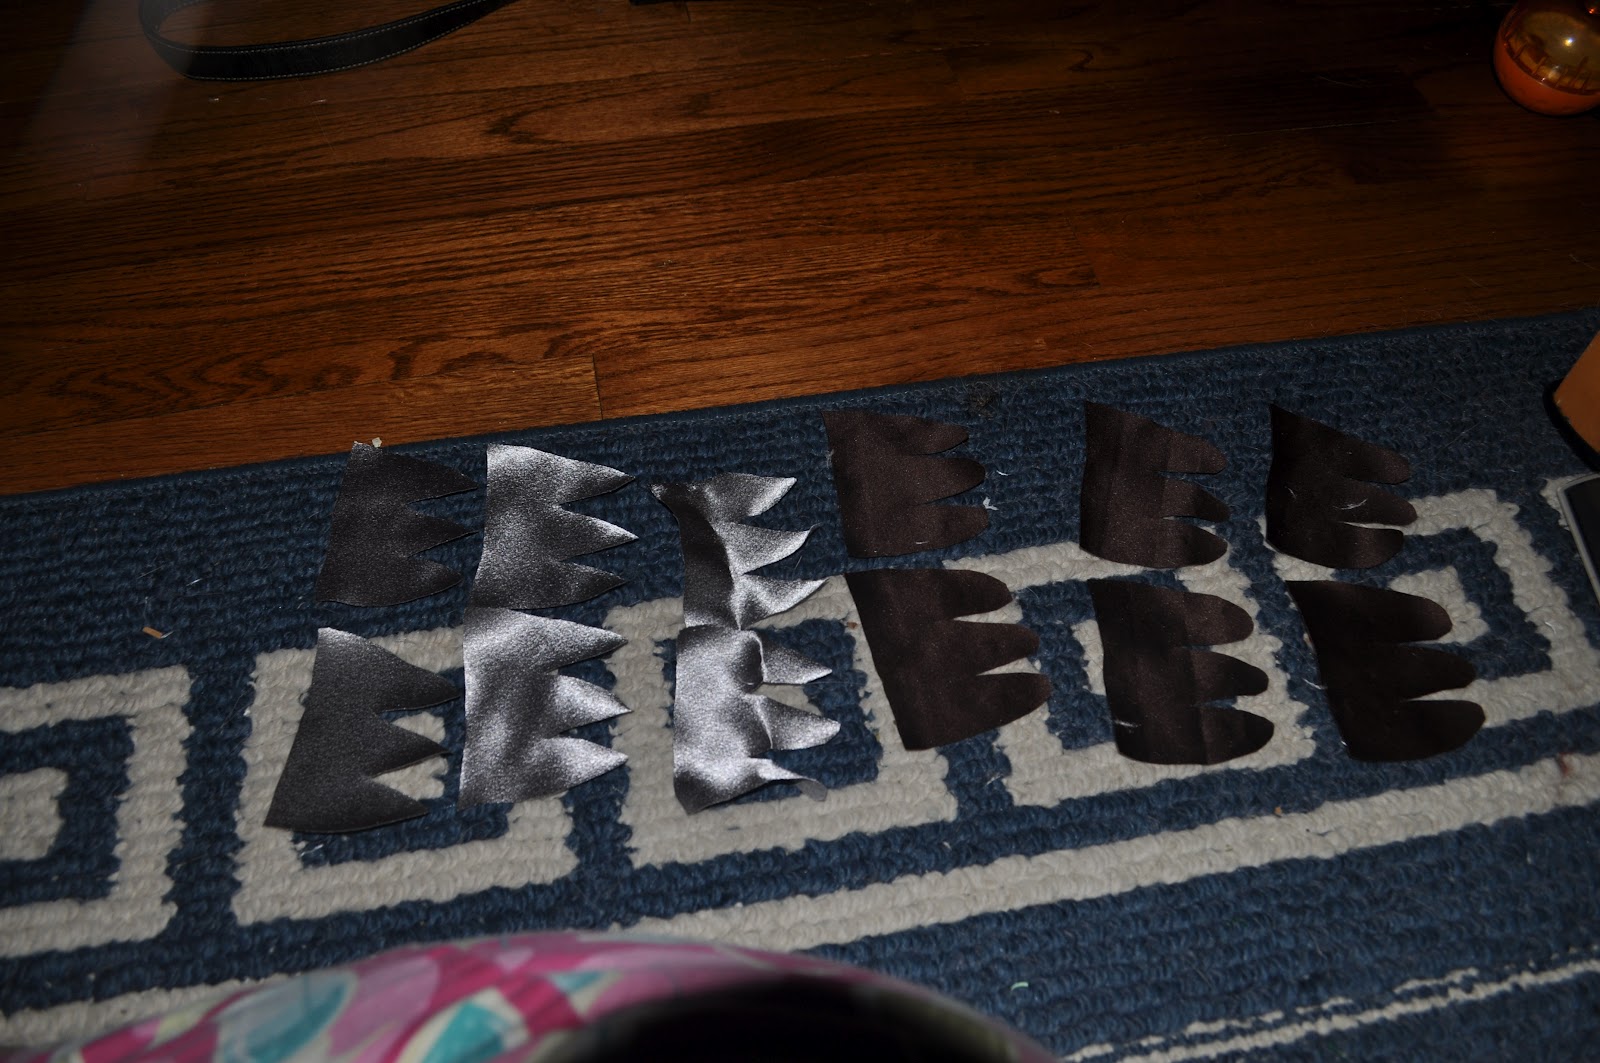
Flatten body piece out and make your back arrows for the appropriate length. Make sure it is the same width as the head and tail arrows.
I would give the body arrows about 4 ish extra inches in length because the bum of this costume curves. Cut out your brown fur.
Lay out your brown onto the white and pin it in place.
Make sure it lays flat.
Sew it with the fur facing up.
Now for the fun part, SLEEVES! Did I ever mention that sleeves can be counter intuitive? Pin the sleeve as shown. Essentially, it is right side out with the short side seam in the middle of the arc. You are going to want to sew from end of arc to end of arc.
After being sewn.
(How it should fit on your sewing machine when you sew it)
Now for the truely fun part as I seem to be missing pictures somehow.
Saber belly pic for reference.
I also hot glued grey, non silky side, circles onto the the bottom of the feet with hot glue rings round the edge for grippy-ness in case the dog ever actually wore them to walk around.
To sew the belly piece on, pick a side and sew along that edge. On the other side, sew buttons in between the legs and on the "collar" piece that seems to be hanging on there. Make button holes to correspond to them so you can button the belly up. On the side of the silky belly material you sewed up sew down the "collar" piece on that side. The other "collar" side should be able to button into the silky belly material. Make sure to fray check any exposed silky edges! Sew the tail (stuffed or unstuffed) to the butt of the costume, making sure to match up the arrows. Decide how you want to attach the feet. I would suggest making it so you can button them to the legs. Taadaa! You are now done! How does it feel?
I apologize if my directions are a bit vague. I do not do many pattern tutorials. I will try to scan/post some pattern pieces tomorrow. Remember, they are corgi sized!
If you decide that you do not want to make this costume yourself, there is still time for me to get one done and shipped to you in time for Halloween. I will need the measurements
from this image in order to make one that will fit your dog. Mind you, the cut off order time is October 12 to commission me one and have a guarantee of getting there in time for Halloween. I charge $50 plus the cost of material. So if you have a big dog, I do apologize that it will cost more.


.JPG)


.JPG)
.JPG)
.JPG)
.JPG)
.JPG)


.JPG)
.JPG)
.JPG)
.JPG)
.JPG)
.JPG)
.JPG)